
How to Make an Easy Cobbler Recipe (Perfect for Beginners!)
Table of Contents
Table of Contents
Introduction: Why Cobbler is the Ultimate Comfort Dessert
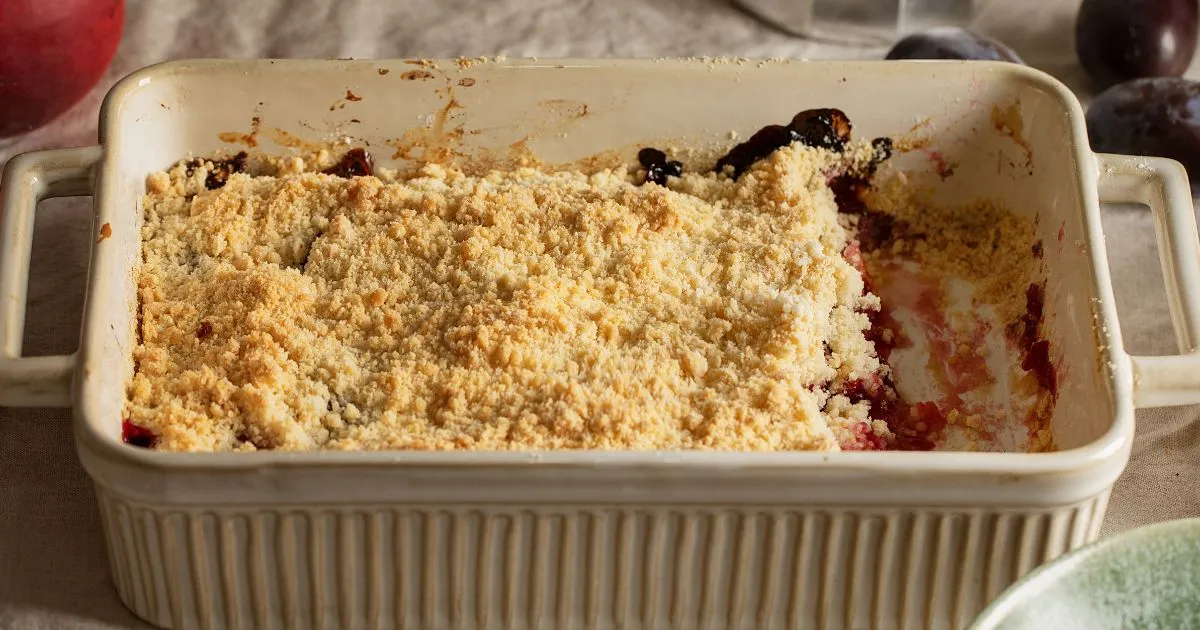
There’s something magical about a warm, bubbling cobbler fresh out of the oven. The sweet aroma of fruit mingling with buttery, golden-brown topping is enough to make anyone’s mouth water. Whether it’s a family gathering, a holiday celebration, or just a quiet evening at home, cobbler has a way of bringing people together.
If you’ve ever felt intimidated by baking, this easy cobbler recipe is here to change that. It’s designed with beginners in mind, requiring minimal ingredients and no fancy techniques. By the time you finish reading this guide, you’ll have all the tools and confidence to create a dessert that’s as comforting as it is delicious.
What is a Cobbler? A Brief History
Before diving into the recipe, let’s take a moment to appreciate the humble cobbler. This classic dessert consists of a fruit filling topped with a biscuit or cake-like layer. Unlike pies, cobblers don’t require a crust, making them simpler to prepare.
Cobblers have deep roots in American cuisine, often associated with Southern comfort food. They were originally created as a way to use up seasonal fruits, and their rustic charm has made them a timeless favorite. Today, cobblers are enjoyed worldwide, with countless variations to suit every taste.
This easy cobbler recipe stays true to tradition while keeping things simple enough for even the most novice bakers.
Why This Easy Cobbler Recipe is Perfect for Beginners
If you’re new to baking, you might feel overwhelmed by complicated recipes with long ingredient lists and intricate steps. That’s where this easy cobbler recipe shines. Here’s why it’s ideal for beginners:
- Minimal Ingredients: You likely already have everything you need in your pantry.
- No Special Equipment: A mixing bowl, baking dish, and oven are all you’ll need.
- Forgiving Nature: Cobbler is incredibly forgiving—no need to worry about perfect measurements or techniques.
- Versatility: You can use fresh, frozen, or canned fruit, making it a year-round dessert.
Whether you’re baking for the first time or just looking for a stress-free recipe, this cobbler is your go-to solution.
Ingredients for an Easy Cobbler Recipe
Let’s start with the basics. Here’s everything you’ll need to make this easy cobbler recipe:
| Ingredient | Quantity | Notes |
|---|---|---|
| Fresh or canned fruit | 4 cups | Peaches, berries, or apples work best |
| Sugar | 1 cup | Adjust based on fruit sweetness |
| Flour | 1 cup | All-purpose flour works perfectly |
| Butter | 1/2 cup | Unsalted, melted |
| Milk | 1 cup | Any type of milk will do |
| Baking powder | 1 tsp | For a fluffy topping |
| Vanilla extract | 1 tsp | Optional, but adds depth |
Tips for Ingredient Substitutions:
- Gluten-Free: Use a gluten-free flour blend.
- Dairy-Free: Substitute butter with coconut oil and milk with almond or oat milk.
- Low-Sugar: Reduce the sugar or use a natural sweetener like honey or maple syrup.
Step-by-Step Instructions for Making an Easy Cobbler
Now that you’ve gathered your ingredients, let’s walk through the process step by step.
Step 1: Prepare the Fruit Filling
- Wash and slice your fruit if using fresh. For canned fruit, drain the syrup.
- Toss the fruit with 1/2 cup of sugar in a bowl. Let it sit for 10 minutes to release its natural juices.
Step 2: Make the Cobbler Topping
- In a separate bowl, combine 1 cup of flour, 1/2 cup of sugar, 1 teaspoon of baking powder, and a pinch of salt.
- Add 1 cup of milk and 1/2 cup of melted butter to the dry ingredients. Stir until just combined—don’t overmix!
Step 3: Assemble and Bake
- Preheat your oven to 375°F (190°C).
- Pour the fruit mixture into a greased baking dish.
- Spoon the batter evenly over the fruit, spreading it gently with a spatula.
- Bake for 35-40 minutes, or until the topping is golden brown and the fruit is bubbling.
Pro Tip: For an extra touch of flavor, sprinkle cinnamon or nutmeg over the topping before baking.
H2: Tips for Perfecting Your Easy Cobbler Recipe
Even the simplest recipes can benefit from a few expert tips. Here’s how to ensure your cobbler turns out perfectly every time:
- Choose the Right Fruit: Opt for ripe, in-season fruit for the best flavor. If using frozen fruit, thaw and drain it first to avoid excess liquid.
- Don’t Overmix the Batter: A few lumps are fine—overmixing can make the topping dense.
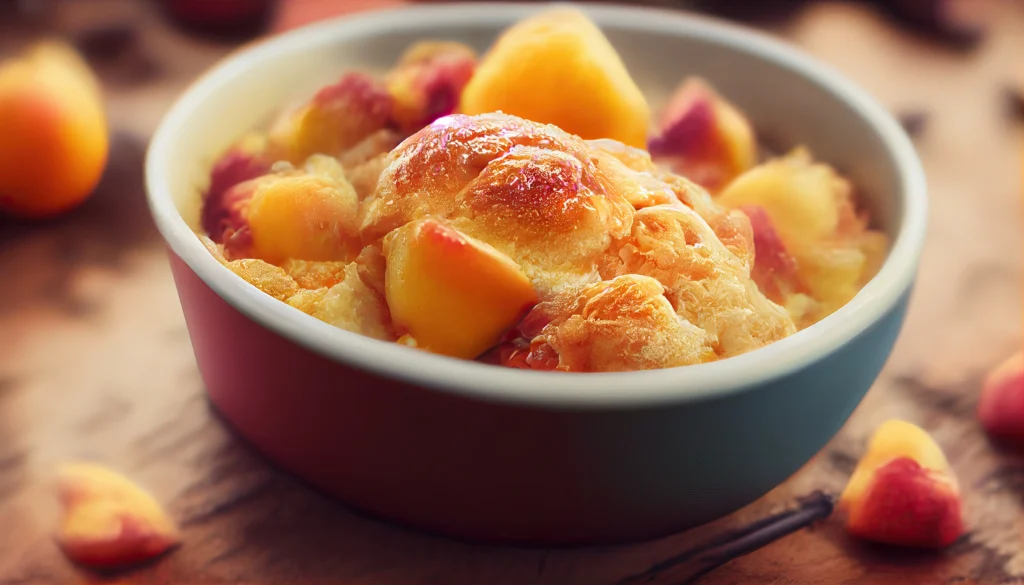
- Adjust Sweetness: Taste your fruit before adding sugar. Tart fruits like berries may need more sugar, while sweeter fruits like peaches may need less.
- Serve Warm: Cobbler is best enjoyed fresh out of the oven, ideally with a scoop of vanilla ice cream or a dollop of whipped cream.
Variations of This Easy Cobbler Recipe
One of the best things about cobbler is its versatility. Here are a few delicious variations to try:
- Berry Cobbler: Use a mix of strawberries, blueberries, and raspberries for a burst of color and flavor.
- Peach Cobbler: A Southern classic, especially delicious with a hint of cinnamon.
- Apple Cobbler: Perfect for fall, with a cozy, spiced flavor.
- Savory Twist: Experiment with a savory cobbler using vegetables like zucchini or tomatoes and a cheesy topping.
Feel free to get creative and adapt the recipe to suit your preferences.
Frequently Asked Questions (FAQs)
Can I use frozen fruit for this easy cobbler recipe?
Yes, frozen fruit works well! Just make sure to thaw and drain it to prevent a soggy cobbler.
How do I store leftover cobbler?
Store it in an airtight container in the fridge for up to 3 days. Reheat in the oven or microwave before serving.
Can I make this easy cobbler recipe gluten-free?
Absolutely! Substitute all-purpose flour with a gluten-free blend for a delicious gluten-free version.
What’s the difference between a cobbler and a crisp?
A cobbler has a biscuit-like topping, while a crisp has a crumbly, oat-based topping. Both are delicious, but cobblers are often easier to make.
Conclusion: Your Go-To Easy Cobbler Recipe for Any Occasion
There you have it—a foolproof easy cobbler recipe that’s perfect for beginners and seasoned bakers alike. With its simple ingredients, straightforward steps, and endless variations, this dessert is sure to become a staple in your kitchen.
So, what are you waiting for? Preheat your oven, grab your ingredients, and get ready to create a dessert that’s as comforting as it is delicious. Don’t forget to share your results with friends and family—or better yet, invite them over to enjoy it fresh out of the oven.
Call to Action: Tried this recipe? Let us know how it turned out in the comments below! Share your photos on social media and tag us—we’d love to see your creations.
This article is designed to be engaging, informative, and optimized for SEO, ensuring it ranks well while providing real value to readers.
Reviews
There are no reviews yet. Be the first one to write one.